

Roof Material Installation: Steps to Achieve a Durable and Reliable Roof
The roof is not only a vital protective barrier for your home but also a key factor in determining its appearance and functionality. Precise procedures and meticulous installation techniques are essential when installing roofing materials. Every step, from material preparation to layer placement, directly impacts the roof’s waterproofing, insulation, and durability. This article provides a detailed guide to the roofing material installation process, helping you create an attractive, long-lasting, and dependable roof.
Preparing and Selecting Roofing Materials
The first step to achieving a quality roof is selecting the right materials and preparing them properly.
Choosing the Right Materials
Different roofing materials, such as asphalt shingles, metal sheets, and ceramic tiles, each have their pros and cons. Asphalt shingles are cost-effective and versatile, ideal for residential homes. Metal sheets are highly durable, suitable for areas with extreme weather, while ceramic tiles offer excellent insulation and suit hot climates or vintage-style buildings. Choosing the right material based on your building style, climate, and budget ensures long-term protection.
Inspecting and Preparing Materials
Before construction, inspect all materials to ensure they are free from damage or defects. Fragile items like tiles must be checked for cracks to avoid future leaks. Arrange materials near the roof in order of use for easy access during installation. Proper preparation enhances construction efficiency and smooth workflow.
Installing the Waterproofing Layer
The waterproofing layer is a crucial component that prevents water penetration into the roof.
Laying the Waterproofing Layer
Ensure the waterproof membrane or material adheres tightly to the roof’s surface. Keep the base clean and flat to avoid bubbles or wrinkles. Apply waterproof adhesive at seams for a leak-free finish. Proper adherence to guidelines ensures optimal waterproofing performance.
Reinforcing Drainage Points and Edges
Drainage points and roof edges are vulnerable areas prone to leaks. Strengthen these areas with additional waterproofing layers or sealing strips. Around drainage points, apply thicker layers to ensure smooth water flow without infiltration.
Installing the Insulation and Thermal Layers
A perfect roof not only needs waterproofing but also effective insulation and thermal performance. These layers regulate indoor temperatures, enhancing comfort.
Choosing the Right Insulation Materials
Select insulation based on local climate conditions. Popular options include polyurethane foam boards for high temperatures or fibreglass mats for areas with significant temperature fluctuations. Proper material choice reduces long-term energy costs.
Insulation Installation Techniques
Ensure the insulation is flat and tightly fitted to prevent gaps or voids. Cut each insulation board precisely to fit the roof structure. Adding an extra insulation film boosts overall thermal performance.
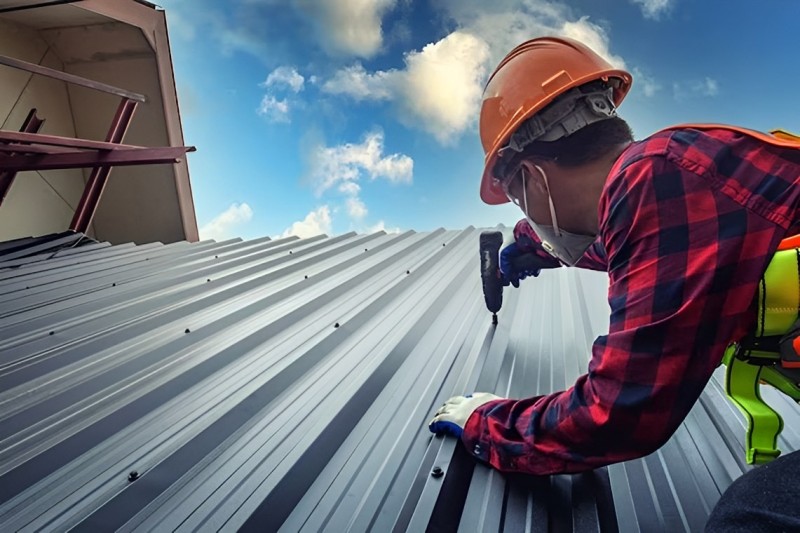
Installing and Securing Roofing Materials
The installation of roofing materials is the core step in the process, influencing the roof’s stability and protection.
Placing Tiles or Panels
Start from the base of the roof and work upwards, overlapping materials to create a natural drainage structure. Align materials precisely for uniform placement, essential on sloped roofs to prevent water leakage.
Securing Materials
Use appropriate fastening methods based on the material type. For example, nails are suitable for tiles, while screws and clamps secure metal sheets. Maintain consistent spacing between fasteners and consider reinforcements for windy or harsh climates.
Detailing Roof Edges and Seams
Attention to detail is critical, especially at roof edges and seams, which directly impact the roof’s lifespan.
Sealing Edges and Eaves
Reinforce edges and eaves with sealing strips or waterproof adhesives to prevent moisture intrusion. Match edge designs with the roof’s overall style for a cohesive appearance.
Protecting Ridges and Seams
Roof ridges and seams are high-risk areas for leaks. Use special ridge tiles or waterproof strips to seal these areas securely. Add extra waterproof layers if necessary for enhanced protection.
Post-Installation Inspection and Maintenance
Routine inspection and maintenance after installation ensure long-term safety and functionality.
Testing Waterproofing
Conduct water testing by spraying water over the roof to check for leaks or pooling. Inspect seams, drainage points, and edges to confirm proper waterproofing.
Regular Maintenance and Cleaning
Though durable, roofs require regular upkeep. Clear debris, especially in fall and winter, to prevent clogged drains. Inspect waterproof and insulation layers annually, repairing any damage to ensure lasting performance.
Conclusion
Installing roofing materials requires meticulous construction and scientific methods. From selecting materials to handling intricate details, every step is vital. Effective waterproofing, insulation, and fastening techniques create an attractive and durable roof. Routine inspections and maintenance further ensure its reliability, offering long-term protection for your family.