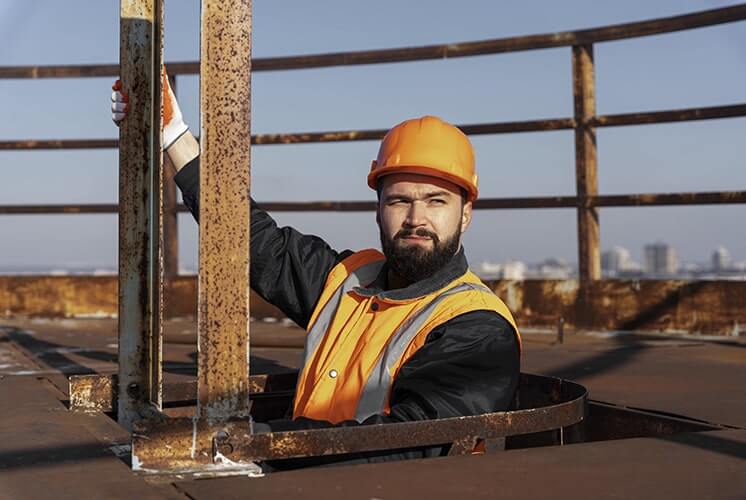
Preparing the roof by removing old materials is an essential step before installing a new one. This process goes beyond surface cleaning, laying a solid foundation for the new roof. Whether replacing materials or improving roof structure, thorough cleaning helps identify potential issues, ensuring a smooth installation process. Below are key points and professional steps for clearing old roofs, helping you prepare for the new roof installation.
Removing Old Materials and Cleaning the Roof Surface
The first step in clearing an old roof is removing the existing materials. Common roof materials, such as tiles, metal sheets, or wooden panels, may be worn, aged, or damaged from prolonged exposure. Carefully remove these materials to avoid further damage to the underlying structure. Remove tiles or panels systematically from top to bottom, collecting and organizing them for disposal. Check for remaining nails or metal components, as removing these small items is critical for the safety of subsequent work.
Inspecting and Cleaning the Roof Drainage System
The drainage system is a vital part of the roof and the first defence against water damage. Over time, debris like silt and leaves often accumulates in gutters and drains, obstructing water flow and potentially causing water pooling. During the roof clearing process, carefully inspect the drainage pipes and channels, removing any blockages to ensure free-flowing water. This step not only sets the stage for new installations but also helps prevent hidden water infiltration risks.
Repairing the Roof’s Structural Foundation
Once the old roof is cleared, structural issues often become evident, such as cracked wooden beams, loose supports, or aged waterproof layers. To ensure the new roof is secure, inspect and repair these foundational structures. Wooden structures may show signs of rot due to moisture or pest damage, requiring timely replacement or repairs. Focus on the roof frame’s stability—loose or damaged frames can compromise the security of the new installation.
Cleaning and Levelling the Roof Surface
A clean and level roof surface is crucial before installing a new roof. The cleaned roof surface provides better adhesion for waterproofing and insulation layers, enhancing the overall sealing effect. Sweep away dust and debris, ensuring no small fragments remain. If uneven areas are identified, use filler materials to adjust the surface to the required level, creating an optimal foundation for the new roofing materials.
Installing Temporary Protective Measures
Weather changes, such as unexpected rain or snow, can occur during the roof clearing process. Install temporary protective measures, such as waterproof covers, to shield exposed roof structures. For higher or sloped roofs, use protective nets and railings to prevent falls during the cleaning process. These precautions safeguard workers and allow for flexibility in the schedule, maintaining work quality under adverse weather conditions.
Final Cleaning and Inspection
After cleaning, repairing, and setting up protective measures, perform a final inspection and cleanup. Ensure all debris is removed and the roof surface is ready for new materials. Check critical areas, such as drainage systems, roof edges, and seams, to ensure there are no hidden risks. This final step prepares the roof for a smooth installation process, laying a strong foundation for the success of the overall roofing project.
Conclusion
Clearing an old roof is a meticulous process, with each step laying the groundwork for the new installation. High-quality clearing ensures not only a clean appearance but also the safety and longevity of the entire roof structure.


